Contents:
- Understanding Your Straightener and Hair Type
- Preparing Your Hair for Wave-Making
- The Straightener Waving Technique
- Advanced Wave Techniques for More Options
- Timing and Heat Setting: Seasonal Considerations
- Common Mistakes to Avoid
- Aftercare and Making Waves Last Longer
- Troubleshooting Common Wave Problems
- Product Recommendations for Wave Success
- FAQs About Waving Hair With a Straightener
- How long does it take to wave your entire head with a straightener?
- Can you wave hair with a straightener if it’s very curly?
- How often is it safe to wave hair with a straightener?
- Do you need special straighteners for waving, or will any straightener work?
- What’s the difference between waves created with a straightener versus a curling iron?
- Final Thoughts and Getting Started
Can a flat iron really transform lifeless strands into salon-quality waves? The answer is yes, and it’s one of the most versatile styling tricks available to anyone with limited space and minimal equipment. A straightener isn’t just for smoothing hair—it’s a multifunctional tool that, with the right technique, can create anything from subtle, tousled texture to dramatic, defined waves. This guide walks you through exactly how to wave hair with a straightener, breaking down the process into manageable steps that work in even the tiniest bathroom or bedroom corner.
Understanding Your Straightener and Hair Type
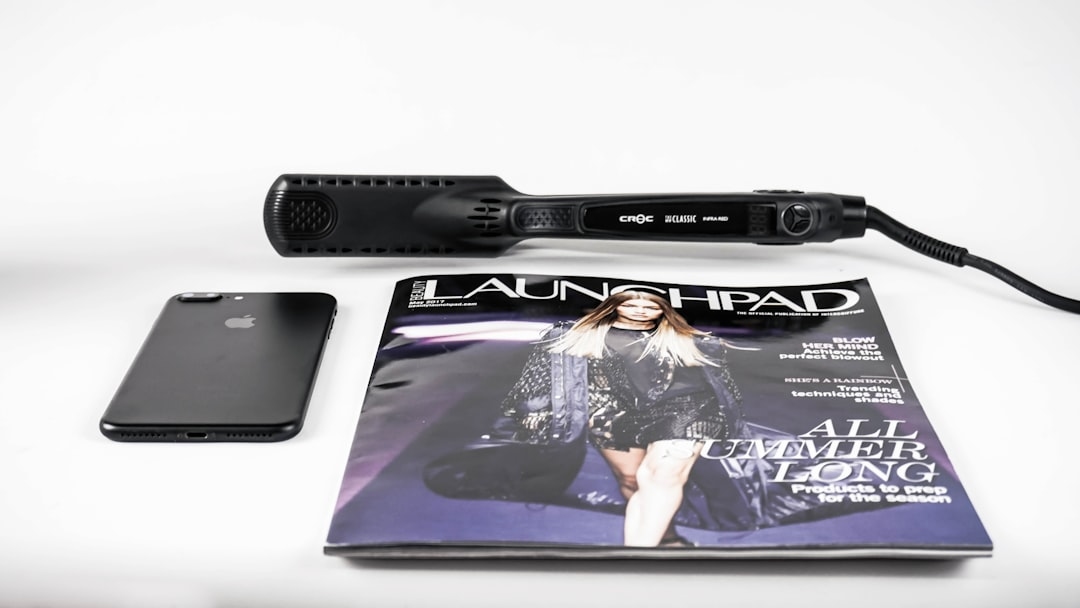
Before you attempt to create waves, you need to understand what you’re working with. A hair straightener, also called a flat iron, consists of two heated plates that clamp together. Most modern straighteners range from 1 to 2 inches wide and heat to temperatures between 140°C and 230°C. The quality of your straightener matters significantly—cheaper models often have uneven heat distribution, which can lead to inconsistent waves and potential hair damage.
Your hair type determines how the straightener will interact with your strands. Thick, coarse hair can typically handle higher temperatures (190-230°C) and requires more tension for waves to hold. Fine or thin hair responds better to lower temperatures (140-170°C) and lighter grip pressure. Curly hair already has texture, so the goal is enhancing what’s there rather than creating new movement. Straight hair is actually the easiest to work with for wave-making because it provides a blank canvas for your styling.
Porosity—how well your hair absorbs and retains moisture—also matters. Low-porosity hair (which resists absorbing products) benefits from pre-styling heat activation, while high-porosity hair (which soaks up everything) may need a protective serum beforehand. If you’re unsure about your hair’s porosity, try this simple test: drop a strand into a glass of water. If it sinks immediately, you have high porosity; if it floats, you have low porosity.
Preparing Your Hair for Wave-Making
Success with how to wave hair with a straightener starts with proper preparation. Dirty hair actually holds waves better than freshly washed hair because natural oils provide grip and protection. However, if your hair is visibly oily at the scalp, use a dry shampoo 1-2 hours before styling to absorb excess sebum without affecting the rest of your hair.
Clean, damp hair is your baseline. Shower the night before or several hours before styling to let your hair fully dry. This prevents the straightener from creating steam, which can weaken the wave pattern. If you’re working with air-dried hair, aim for hair that’s about 80-90% dry; this gives you enough moisture to style with but reduces heat damage risk.
Apply a heat protectant product throughout your hair, focusing on the mid-lengths and ends. Heat protectants typically form a thin polymer coating that shields hair from high temperatures. Look for products containing ingredients like silicones, proteins, or ceramides. A light spray is better than a heavy cream—you want protection without weighing your waves down. Allow the product to dry completely before using your straightener.
Section your hair strategically. For small spaces, work with what fits comfortably. Divide your hair into 4-6 sections using clips. Start at the nape of your neck and work upward toward the crown. Smaller sections (about 1-1.5 inches wide) create tighter, more defined waves, while larger sections (2-3 inches) produce looser, beachy texture. If space is very limited, work with just the front and back sections rather than trying to manage multiple sides simultaneously.
The Straightener Waving Technique
There are several methods for creating waves with a straightener. The most straightforward approach is the twist-and-clamp method. Take your first section of hair and insert it into the straightener about 2-3 inches from the roots, with the straightener plates pointing slightly downward. Clamp the plates together firmly but not so tightly that you’re crushing your hair.
Now comes the crucial movement. Slowly rotate the straightener away from your face (or toward your face—consistency matters more than direction). At the same time, glide the straightener down the section of hair slowly, taking roughly 3-5 seconds to travel from the insertion point to the ends. This combination of rotation and downward gliding creates the wave pattern. The rotation angle doesn’t need to be extreme—even a 45-degree twist creates visible waves.
Repeat this motion on every section, working methodically through your hair. In a small space, you might sit on the edge of your bed or stand at a low sink to keep the straightener and mirror at comfortable angles. Consistency is key: if you rotate left on the first section, continue rotating left on subsequent sections for uniformity.
The temperature and grip pressure you use directly affect results. A straightener at 190°C with moderate pressure on thick hair will create waves that last 2-3 days. The same temperature on fine hair might cause damage and brittleness, so reduce temperature to 160°C and use lighter pressure. Your first few attempts will teach you the sweet spot for your specific hair.
Advanced Wave Techniques for More Options
Once you’ve mastered the basic twist-and-glide method, several variations create different wave patterns. The S-wave method involves rotating your wrist in an S-pattern as you glide the straightener down—rotate away, then toward, then away again. This creates more romantic, undulating waves with multiple curves rather than single spirals.
The stationary hold technique works differently. Insert your hair into the straightener, clamp, twist, and hold the position for 2-3 seconds without gliding. Then release. This creates tighter, perm-like waves that can look quite structured. It’s less versatile but requires less space since you’re not moving the straightener along your hair’s length as much.
The diagonal method involves angling your straightener at 45 degrees to your scalp rather than perpendicular, then gliding diagonally down the section while twisting. This creates waves that appear more natural because they don’t all follow the same vertical line.
Timing and Heat Setting: Seasonal Considerations
Hair behaves differently depending on the season. Spring and summer months (April through August in the UK) involve higher humidity levels, which can cause waves to loosen faster and frizz to develop more easily. If you’re styling during these months, use a lightweight frizz-control serum and consider reducing your straightener’s temperature by 10-20°C since humidity carries moisture that acts like extra heat.
Autumn and winter (September through March) bring lower humidity, which actually works in your favour—waves hold longer and require less touch-up. However, central heating dries out hair, so use a hydrating conditioner more frequently during these months to maintain hair health. In December and January, you might be able to style your hair one day and have waves that hold through the next day, whereas in July you might need to restyle daily.
Spring (particularly March and April) is an ideal time to experiment with new wave techniques because you’re between extreme seasons. The humidity is moderate, hair texture is typically in good condition, and you can test what works without the challenges of peak summer heat or winter dryness.
Common Mistakes to Avoid
One of the biggest mistakes is attempting how to wave hair with a straightener on wet or damp hair. This causes sizzling and steam, which damages hair cuticles and creates weak waves that fall flat within hours. Wait until your hair is completely dry.
Another frequent error is using inconsistent technique. If you twist the straightener at different angles or speeds through different sections, your waves won’t look cohesive. Set a specific motion and speed, then repeat it identically on every section.
Using too high a temperature is damaging and unnecessary. Higher heat doesn’t create better waves—it just increases the risk of breakage and dryness. Start at 170°C and only increase if waves aren’t forming; most people find the sweet spot between 160-190°C depending on hair type.
Gripping too tightly with the straightener can cause crimp marks or visible indentations in your waves. Use firm, consistent pressure rather than an iron grip. A light-to-medium clamp is usually sufficient.
Styling only the surface layer is another mistake. Many people wave the top section thoroughly but neglect the underneath layers. Even though these aren’t visible, they provide structure for the entire wave pattern. Wave all sections equally for cohesive results.
Aftercare and Making Waves Last Longer
Immediately after styling, allow your waves to cool. Don’t put your hair up, lean against anything, or apply heavy products. Cooling helps the wave pattern set permanently. If you have time, let waves cool naturally for 30 minutes. If you’re in a hurry, use a cool shot from a blow dryer on low speed—this accelerates cooling and helps the wave structure harden faster.
Once cooled, a light hairspray applied from about 20cm away provides hold without weighing waves down. Don’t spray too close or too heavily; this creates flaking and stiff hair. A medium-hold hairspray (not extra-hold) offers the best balance between staying power and touchability. Most people find that a single light coat provides 6-8 hours of hold.
Sleep is a waves’ biggest enemy. If you want waves to last overnight, protect them with a pineapple bun method: gather hair loosely on top of your head and secure with a soft scrunchie. This maintains wave structure while you sleep. Alternatively, use a silk or satin pillowcase, which creates less friction than cotton pillowcases and reduces frizz.
Touch-ups the next day are easy. If waves have loosened slightly, re-run your straightener through just those sections with a lower temperature (150-160°C) and lighter pressure. You’re not creating new waves; you’re reinforcing existing ones. This takes half the time of full styling and preserves your hair’s condition better than full re-styling every day.
Troubleshooting Common Wave Problems
If your waves look crispy or damaged, you’re using too high a temperature or gripping too tightly. Reduce temperature by 20°C and use lighter pressure on your next attempt. Check that you’re using heat protectant product—skipping this step is false economy that leads to damaged hair.
If waves are disappearing within a few hours, check your preparation. Dirty hair holds waves better than freshly washed hair. Try styling the day after washing rather than the same day. Also verify you’re allowing adequate cooling time before moving around or applying products.
If you’re getting visible crimps or creases rather than smooth waves, the issue is usually grip pressure or angle. Ensure the straightener plates are sliding smoothly down your hair rather than clamping and releasing in jerky motions. Each motion should be one continuous glide, not multiple pinches.
If the back of your head looks smooth while the front has waves, you’re gripping harder on the front sections. Make your pressure and technique completely uniform across all sections. Ask someone to take a photo from behind so you can see how the back looks during styling.
Product Recommendations for Wave Success
A quality straightener is your foundation. Brands like GHD, Dyson, and Remington offer reliable models in the £80-£400 range depending on features. For apartment living, look for models with automatic shut-off (typically after 30 minutes) and 360-degree swivel cords to maximize space efficiency.
Heat protectant sprays are essential. Look for products containing dimethicone or phenyl trimethicone for protection, and ceramides or hydrolyzed proteins for conditioning. Brands like Tresemmé, Schwarzkopf, and L’Oréal Professional offer effective options between £5-15 per bottle.
Lightweight hairsprays work better than heavy-hold formulas for waved hair. TRESemmé Beauty-Full Volume and Schwarzkopf Silhouette are budget-friendly options (£2-4), while Moroccan Oil Treatment delivers professional-grade results (£25-35 per bottle). For budget-conscious styling, budget sprays work perfectly adequately; the difference between a £3 spray and a £30 spray is marginal for most people.
A light frizz serum applied to cool waves adds shine and extends hold. Products containing argan oil or silicone work well. Keep application minimal—a dime-sized amount rubbed between palms and scrunched into waves is sufficient.
FAQs About Waving Hair With a Straightener
How long does it take to wave your entire head with a straightener?
For someone experienced with the technique, full-head styling takes approximately 20-30 minutes. Beginners should allow 40-50 minutes while learning to develop consistent technique. Shorter hair takes less time; longer, thicker hair takes more time. Working in small apartment spaces might add 5-10 minutes because movement is more restricted.
Can you wave hair with a straightener if it’s very curly?
Yes, but the approach differs. Curly hair already has texture, so the goal is defining existing curls into cohesive waves rather than creating new waves from scratch. Use a lower temperature (150-170°C), work with smaller sections, and focus on smoothing frizz while maintaining curl definition. Results will look more like enhanced natural curls than created waves, which is often more flattering on very curly hair.
How often is it safe to wave hair with a straightener?
Most people can safely style their hair with a straightener 3-4 times per week. Using heat more frequently than this increases damage risk, especially if you have fine or damaged hair. If you style more than 4 times weekly, prioritize intensive conditioning treatments weekly and trim your ends every 6-8 weeks to remove heat damage before it travels up your hair shaft.
Do you need special straighteners for waving, or will any straightener work?
Any straightener can technically wave hair, but plate quality matters. Ceramic or tourmaline plates heat more evenly than metal plates, which reduces hot spots that cause damage. If you already own a straightener, try the technique first—you might be surprised at results. If buying new, spend at least £50-80 for a straightener with reliable temperature control and even plates.
What’s the difference between waves created with a straightener versus a curling iron?
Straighteners create looser, more tousled waves because the motion involves gliding and rotating rather than wrapping. Curling irons wrap hair around a barrel, creating tighter, more defined curls. For apartment living with limited space, straighteners are often preferable because the motion requires less vertical clearance and doesn’t require the same level of fine motor control as curling irons. Straighteners also work faster for full-head styling.
Final Thoughts and Getting Started
Learning how to wave hair with a straightener opens up a daily styling option that requires only one tool and a small workspace. Whether you have 20 minutes or 50 minutes available, whether your hair is short or long, straight or wavy, this technique adapts to your situation and produces results that can last throughout your day and into the next with proper care.
Your first attempt might feel awkward—that’s completely normal. Most people need 5-8 practice sessions before the motion becomes automatic and waves look consistently polished. Don’t abandon the technique after one try. Keep temperature moderate, use heat protectant, and focus on consistent technique rather than speed.
Once you’ve mastered the basic method, experiment with variations: try different twist angles, work with different section sizes, test slightly different temperatures. You’ll discover personal preferences that make the technique your own. In small apartments or shared bathrooms, this technique becomes invaluable because you’re not requiring much space, water, or time. One straightener, a small mirror, and basic technique skills are your entire toolkit for professional-looking waves on demand.
Start with your straightener at 170°C, practice the twist-and-glide motion on a small section of hair at the back of your head (where minor mistakes are invisible), and build from there. Within two weeks of regular practice, you’ll have a reliable styling technique that becomes as automatic as blow-drying. Waves that once seemed like something only professionals could create become something you can produce reliably at home, in any season, in whatever space you have available.